Some say that necessity is the mother of all invention. I think that statement detracts from the essential role that boredom can play. During my high school years (9th grade), I decided to “portablize” a Wii gaming console so that I could play games on my bus rides to school.
A quick note: This project was also published on Instructables and won First Place in the “Battery Powered” competition.
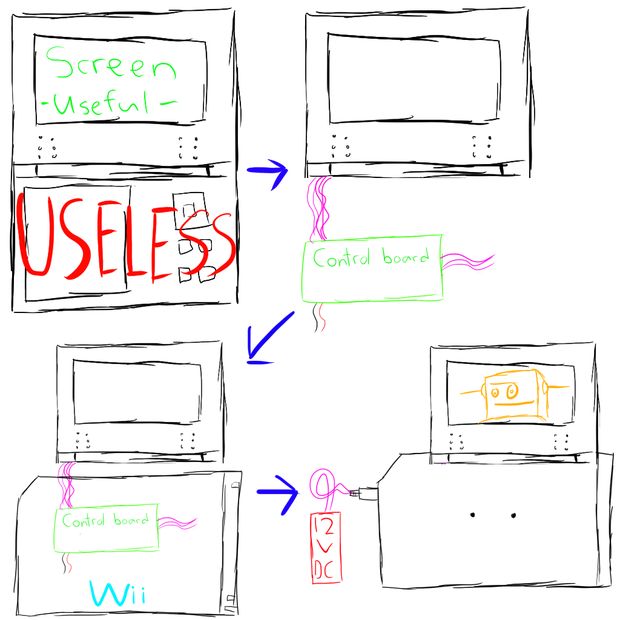
This project started out as a simple wooden frame that held a Wii console to a portable DVD player with a separate battery pack powering both. The Wii simply used the DVD player as a cheap screen. Whilst functional, this combination was both bulky and buggy. I decided that permanently conjoining the two would be the best solution.
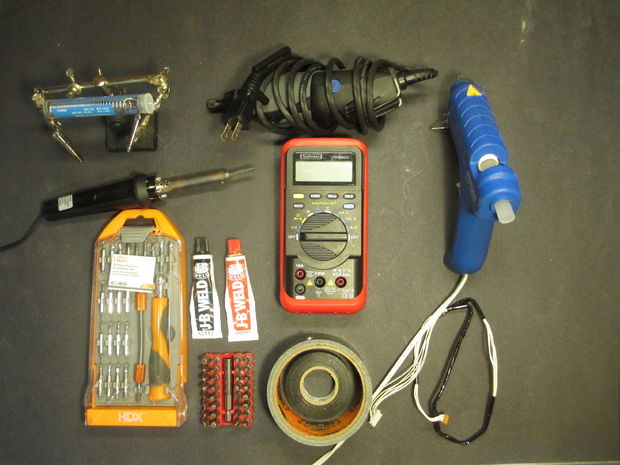
This was, at the time, a challenging task for me. My budget was ~$50 and I had few tools other than what existed in my garage. A good portion of this project was spent probing connections with crossed fingers.
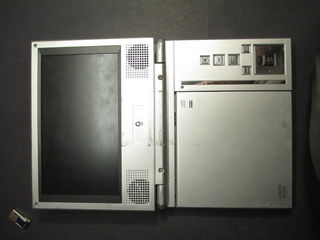
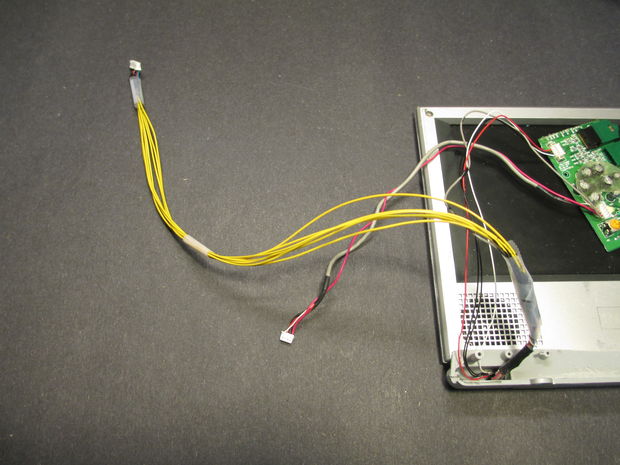
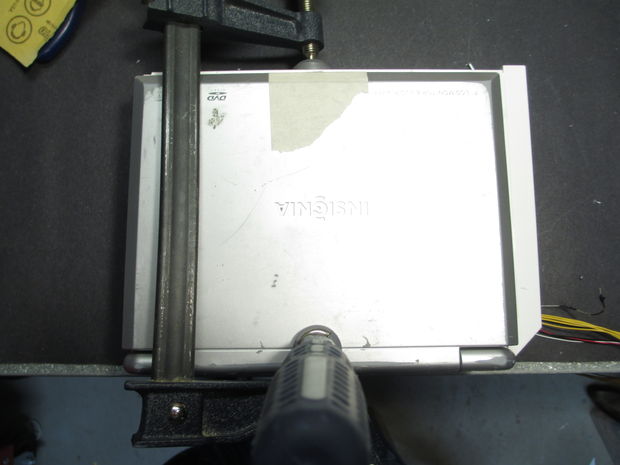
The portable DVD player had a small screen hinged to a bulky DVD reader. After some testing, I found out that the screen only required a small bit of analog decoding circuitry from the DVD player to correctly interpret NTSC.
Surgery commenced.
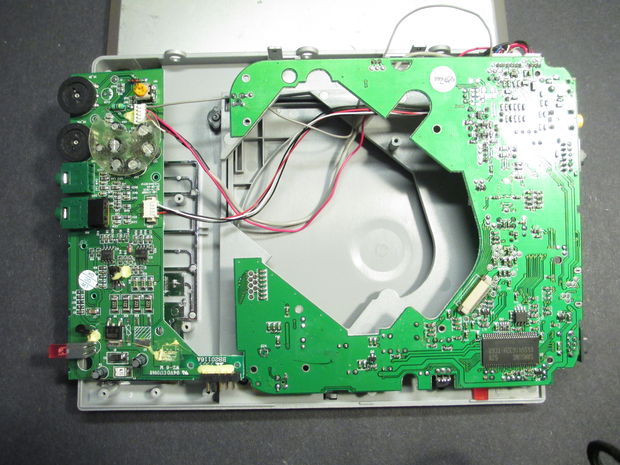
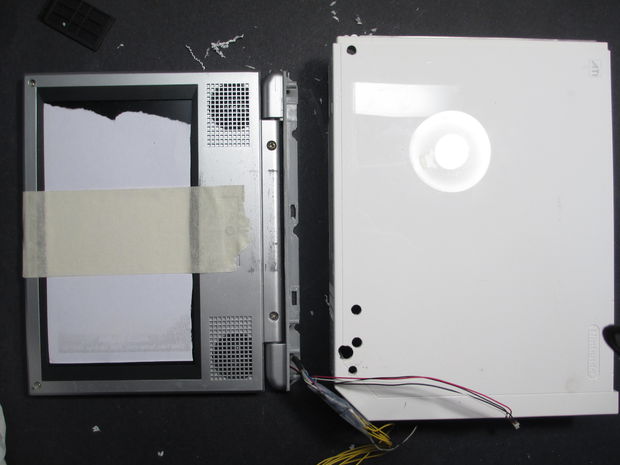
The resulting setup had only a screen and a few select internals needed to turn them on. Those internals would need to be stored/connected internally to the Wii, so the Wii was the next item on the chopping block.
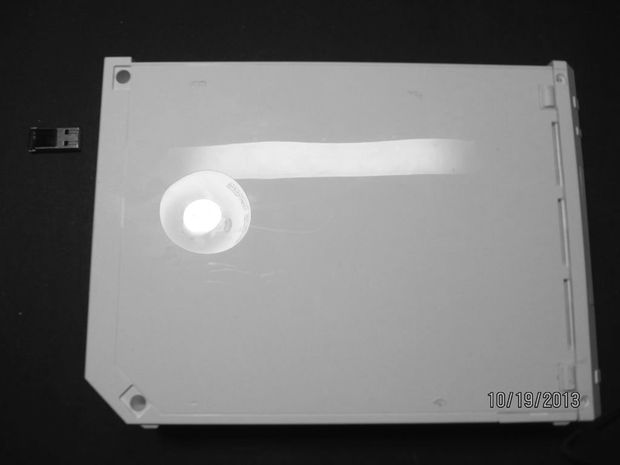
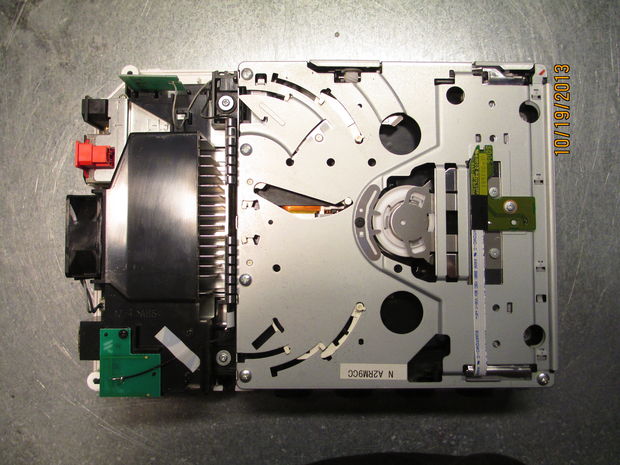
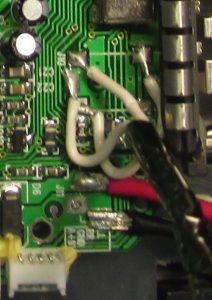
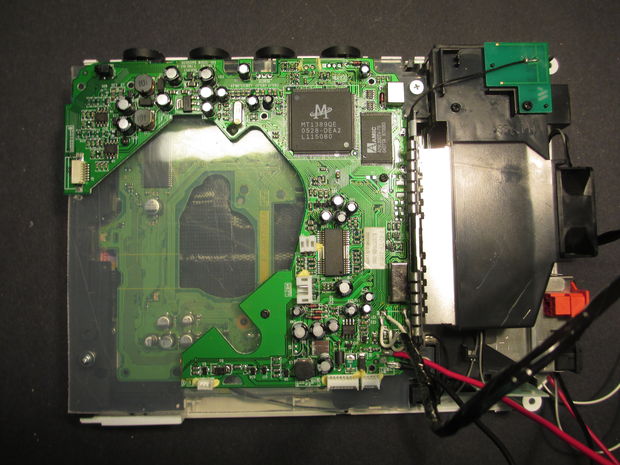
The Wii did not have any free space…so free space had to be made. The CD drive was no longer needed on the Wii due to modifications made to the software.
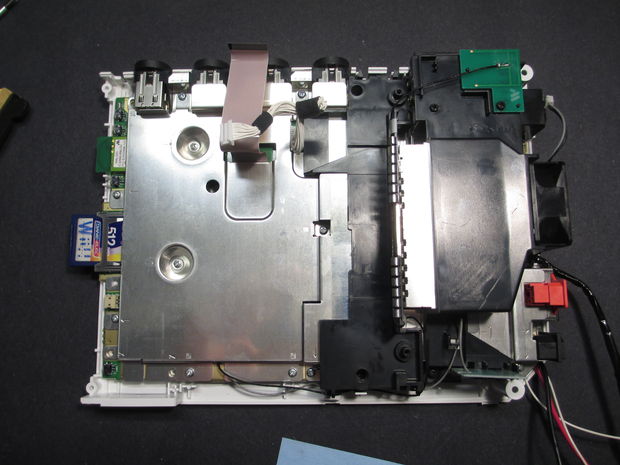
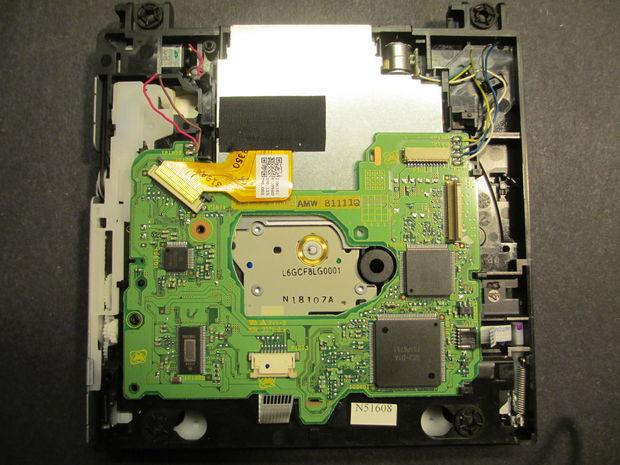
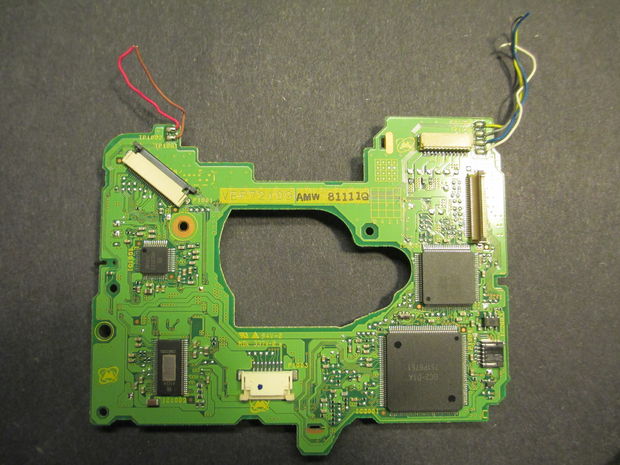
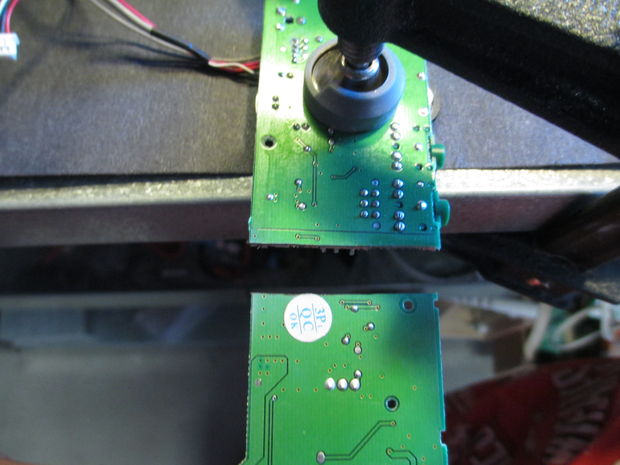
Simply removing was discovered to be impossible. The Wii would not start up if it did not detect the drive. A compromise was made; the drive’s mainboard was torn out and connected to the Wii by itself. Surprisingly, this worked!
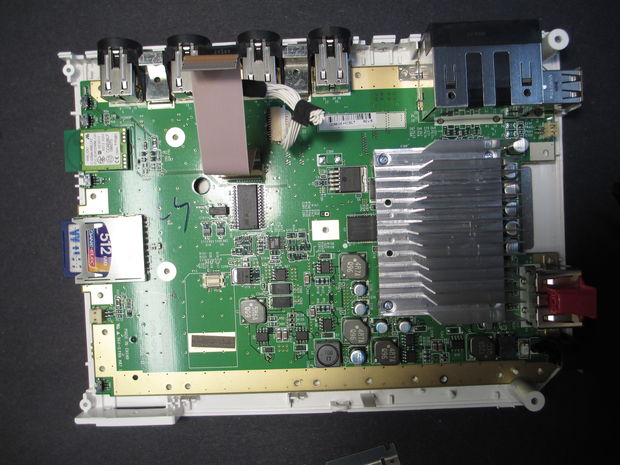
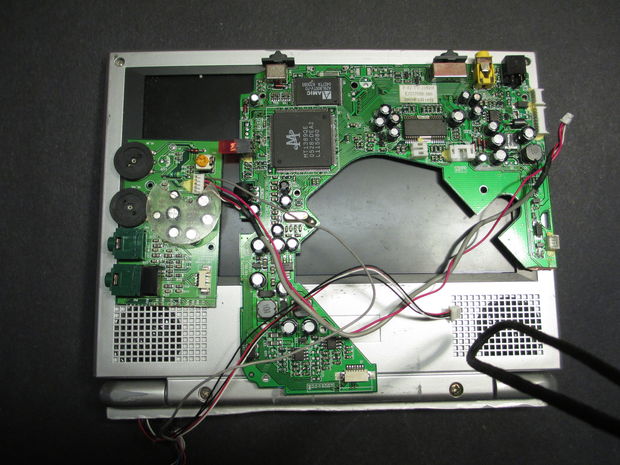
The Wii was stripped down to its internals and the appropriate connections were made.
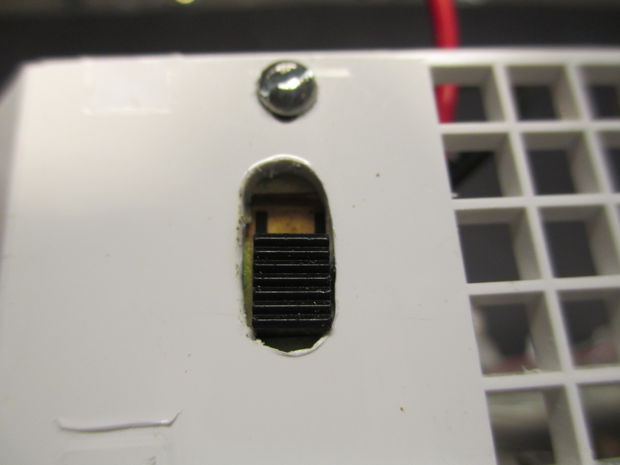
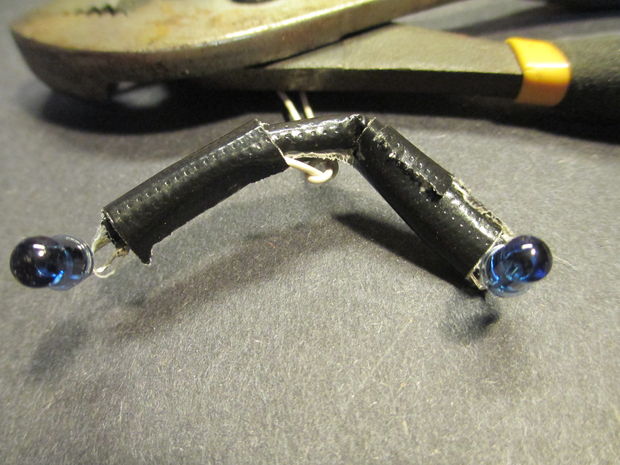
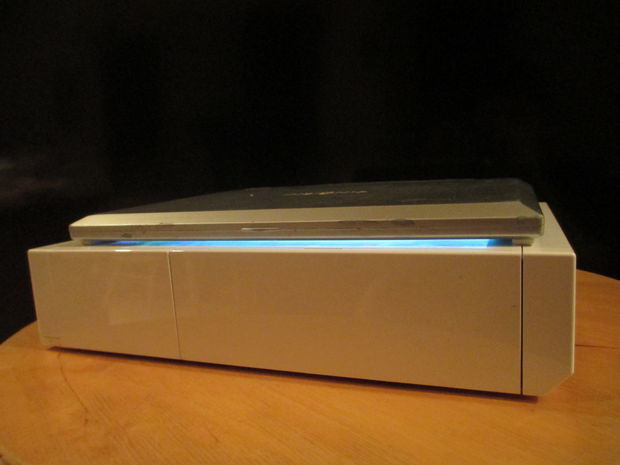
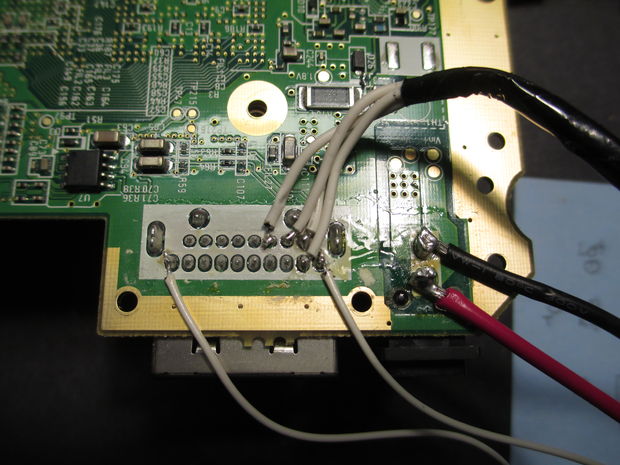
A switch to turn off the screen & two IR LEDs for the sensor bar were added whilst the Wii was disassembled.
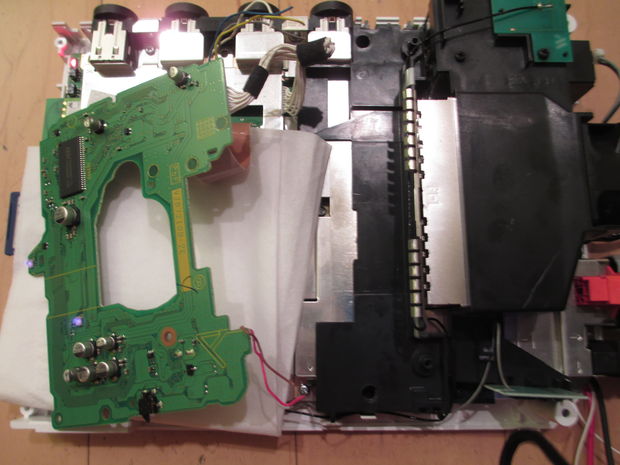
Putting Humpty Dumpy back together was done by sandwiching the various internals of the screen inside the cavity left behind by the DVD drive. A plastic divider was added to isolate components.
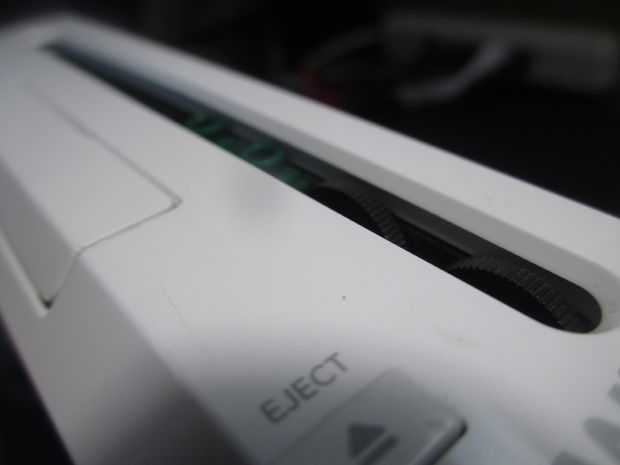
The screen’s brightness controls and audio jack’s conveniently fit through the former optical drive.
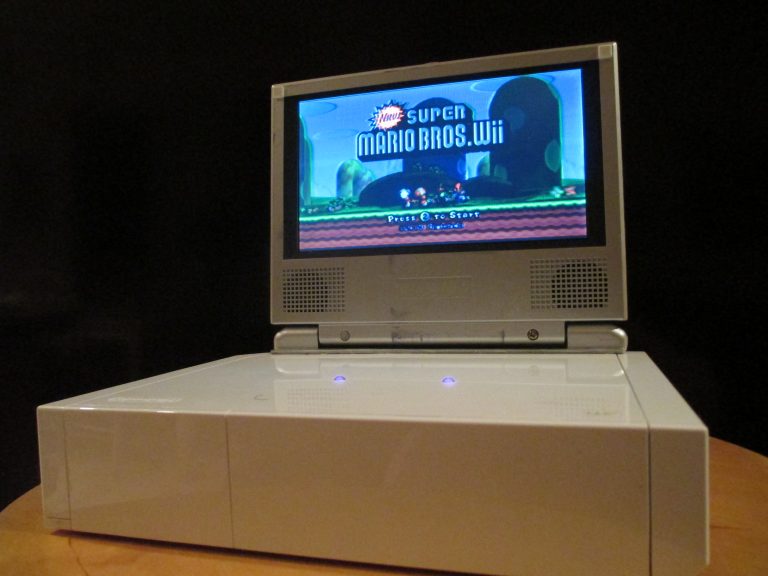
The last step was to add the screen to the front of the device. The top half of the screen was cut free from the bottom, but the hinge was left attached. The hinge was then glued to the front of the Wii with all wires routed appropriately.
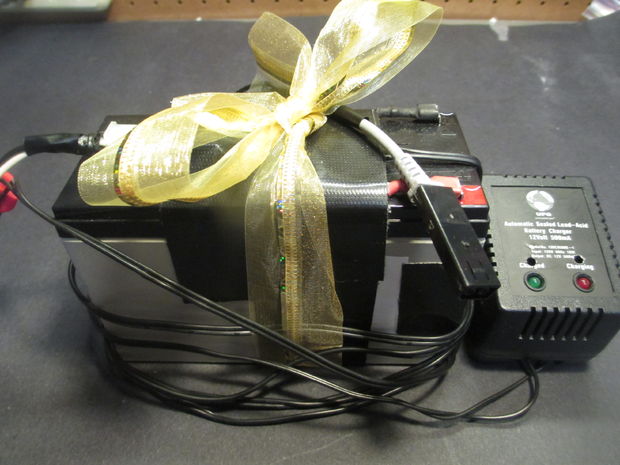
The Wii+screen combo was designed to fit in my backpack. My friend agreed to carry the battery; I naturally took this as an opportunity to make the battery as large as possible (to his dismay). A lead-acid battery was outfitted with a power plug.
With that, the project was completed! It was used extensively throughout my high school years on every ~45 minute bus ride to and from school. The only component that ever broke was a high voltage power supply inside the screen (which I later fixed). The Wii still lives to this day!